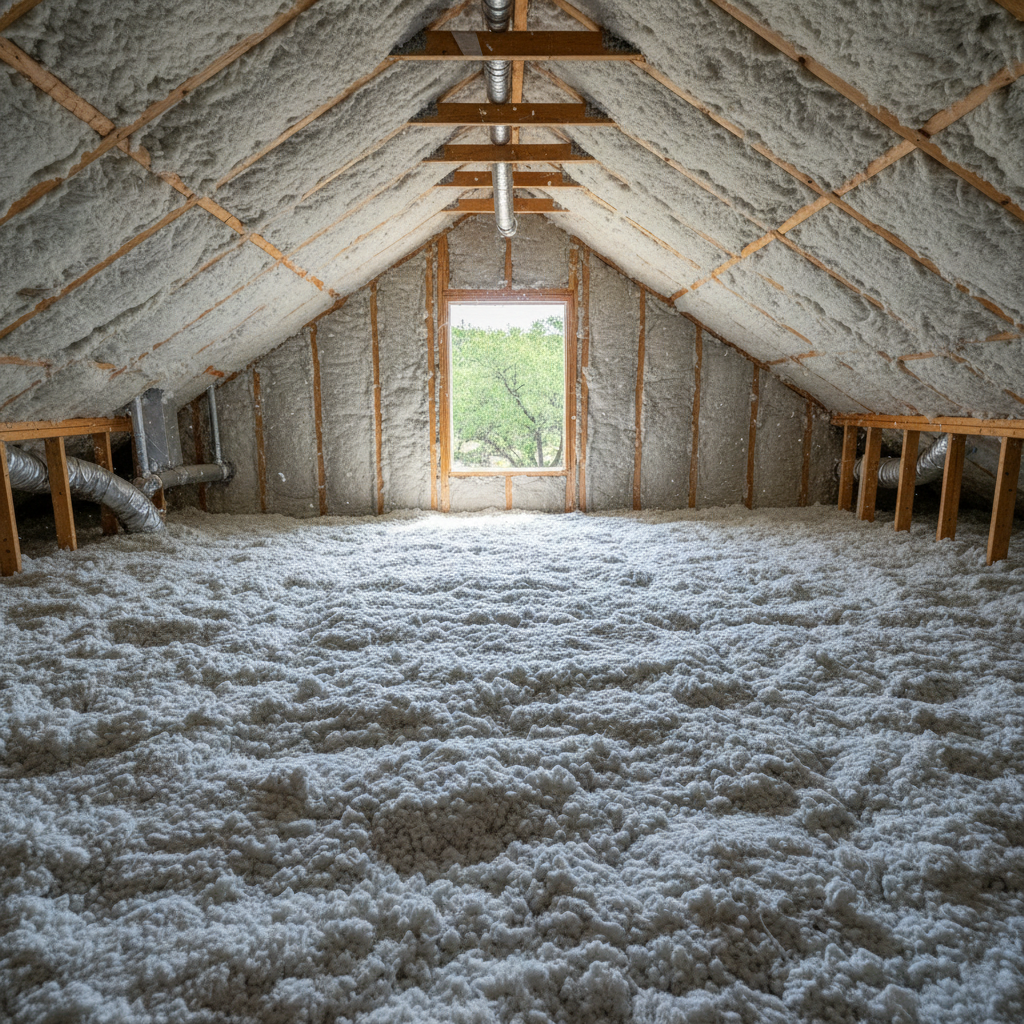
So, you’re thinking about upgrading your home’s insulation with blown-in material. Good move, honestly. It’s one of the best ways to make your place more comfortable and save on those crazy energy bills we get here in Central Texas. But before you jump in, you’ve probably got questions about how it all works, right? I’ve been doing this for a while, and I’ve seen a lot of projects, big and small. Let me walk you through what you need to know to make your blown-in insulation project smooth.
Planning Your Project: What's the Timeline?
Look, insulation isn't like painting a room; it’s not usually an impulse decision. You'll want to plan ahead. Typically, from the moment you decide you want new insulation to the day we finish up, you're looking at a few weeks, maybe a month or two. It depends on a few things.
First, getting estimates. Don't just call one place. Get at least two or three. That alone can take a week or two, just scheduling appointments and waiting for proposals. Once you pick a contractor, they might have a lead time. Good contractors are usually busy, especially during peak seasons like summer when everyone realizes their AC is working overtime, or winter when the cold snaps hit. We try to be pretty responsive at Infinite Insulation Company, but sometimes there's a waiting list.
The actual installation? For most homes, it's a one-day job. Some bigger or more complex attics might stretch into two days, but that's less common. We're talking about the time we're actually in your house, blowing in the material. So, don't expect us to be camping out for a week.
What to Expect During Installation Day
Alright, so the day arrives. What's going to happen? First off, we'll confirm everything we discussed. We'll set up our equipment, which usually involves a big hose running from our truck or trailer into your attic access point. We're talking about a fair bit of equipment, so expect some noise. It's not unbearable, but you'll definitely know we're there.
We'll protect your home. We lay down tarps and drop cloths from the entry point all the way to the attic access. We don't want to track insulation dust or anything else through your house. Our guys will be in protective gear – respirators, coveralls, that kind of thing. It gets dusty, and it can be hot up there, especially in a San Marcos attic in July. We're often working in tight, uncomfortable spaces, so we focus on getting the job done right and safely.
The process itself is pretty straightforward. We feed the insulation material into the blowing machine, and it gets propelled through the hose into your attic. We make sure to get even coverage, paying attention to all the nooks and crannies. If we're also air sealing, that happens before the blowing. Once we're done, we clean up thoroughly, pack up our gear, and do a final walkthrough with you.
How to Get Your Home Ready
You can help make the process even smoother. Here's what I recommend:
- Clear the path: Make sure the path to your attic access is clear. Move any furniture, boxes, or anything else that might be in the way. We need a clear walkway.
- Protect valuables: While we do our best to protect your home, it’s always a good idea to remove any fragile or valuable items from the immediate work area. If your attic is used for storage, try to consolidate boxes or cover them with sheets.
- Pets and kids: Keep pets and small children away from the work area. The equipment can be loud, and it's just safer for everyone if they're not underfoot.
- Access to power: We'll need access to an electrical outlet for some of our tools.
- HVAC considerations: If your HVAC unit or ductwork is in the attic, we'll be working around it. If you've had any recent HVAC work or have concerns, let us know beforehand.
Questions to Ask Before You Sign That Contract
This is where you really protect yourself and make sure you're getting a good deal from a reputable company. Don't be shy about asking these:
- What type of blown-in insulation do you recommend for my home, and why? There's cellulose, fiberglass, sometimes even rock wool. Each has its pros and cons. A good contractor will explain their recommendation based on your specific house, like if you have an older home in the historic district or a newer build in a subdivision like Plum Creek.
- What R-value will you be achieving? R-value is how much the insulation resists heat flow. The higher the R-value, the better the insulation. For San Marcos, you typically want to be aiming for R-38 to R-49 in the attic, depending on what you have now.
- Is air sealing included in the estimate? This is huge. Insulation without proper air sealing is like wearing a winter coat with the zipper open. Heat still escapes. Many contractors offer it as an add-on, but some include it. Make sure you know.
- How do you protect my home during the installation? Ask about tarps, shoe covers, cleaning procedures. It shows they care about your property.
- What kind of warranty do you offer on the materials and the labor? Good materials usually have a lifetime warranty from the manufacturer, and a reputable installer will stand behind their work.
- Are you licensed and insured? This isn't just a formality. It protects you if something goes wrong. Always ask for proof.
- Can you provide references? A company that's confident in their work will happily give you names of past clients.
- What's the total cost, and are there any hidden fees? Get a clear, itemized quote. You don't want surprises.
By asking these questions and understanding the process, you'll feel a lot more confident about your blown-in insulation project. It's a smart investment in your home, and with a little planning, it'll be a smooth one. If you're in San Marcos and have more questions, don't hesitate to reach out to us at Infinite Insulation Company.