So, you’ve got a shed, and you’re sick of it feeling like an oven in summer or a freezer in winter. I totally get it. Lots of folks around San Marcos want to turn their shed into a workshop, a home office, or just a more comfortable spot for storage. Insulating it is a smart move, no doubt, but you really need to know what you’re signing up for. Let’s break it down, shall we?
Before You Start: Planning Your Shed Project
First things first, what’s the shed actually for? That’s going to tell you how much insulation you truly need. If it’s just for stashing tools, you probably don’t have to go all out. But if you’re planning to spend hours in there, you’ll definitely want it to be cozy. And hey, think about your budget too. Insulation materials run the gamut from pretty cheap to a significant investment.
You’ll also need to check out your shed’s structure. Is it built like a tank, or is it a bit flimsy? You can’t just slap insulation onto rotten wood or a leaky roof, can you? Fix any structural problems, seal up cracks, and make sure your roof isn't letting water in. Water and insulation? They do not mix, trust me on this. You'll just end up with mold and a bigger headache than you started with.
Don't forget ventilation, either. Even with insulation, you need air moving around to stop moisture from building up. A simple ridge vent and soffit vents can make a huge difference, especially with our Texas humidity. You really don't want your shed to feel like some damp cave.
During the Project: DIY vs. Calling a Pro
Alright, let’s talk about what you can realistically tackle yourself. For most sheds, you’re looking at insulating the walls, ceiling, and maybe even the floor. Here’s my take:
- Batt Insulation (Fiberglass or Mineral Wool): This is probably the most common DIY choice. It comes in rolls or pre-cut pieces that fit right between studs. It’s pretty easy to cut and install. You’ll need a utility knife, a straightedge, and a good mask, gloves, and eye protection – safety first! Staple it in place, then cover it with a vapor barrier (like plastic sheeting) if your climate calls for it. And ours often does here in San Marcos, especially with those humid summers. Just make sure the batts fill the cavity without being squished; compressing them actually lowers their R-value.
- Rigid Foam Boards: These are fantastic for sheds because they give you a good R-value for their thickness and are easy to cut and fit. You can glue them to walls or cut them to fit snugly between studs. Plus, they’re less irritating to handle than fiberglass, which is a nice bonus. Make sure to seal the seams with foil tape or caulk to stop air leaks. This is a really solid DIY option for both walls and ceilings.
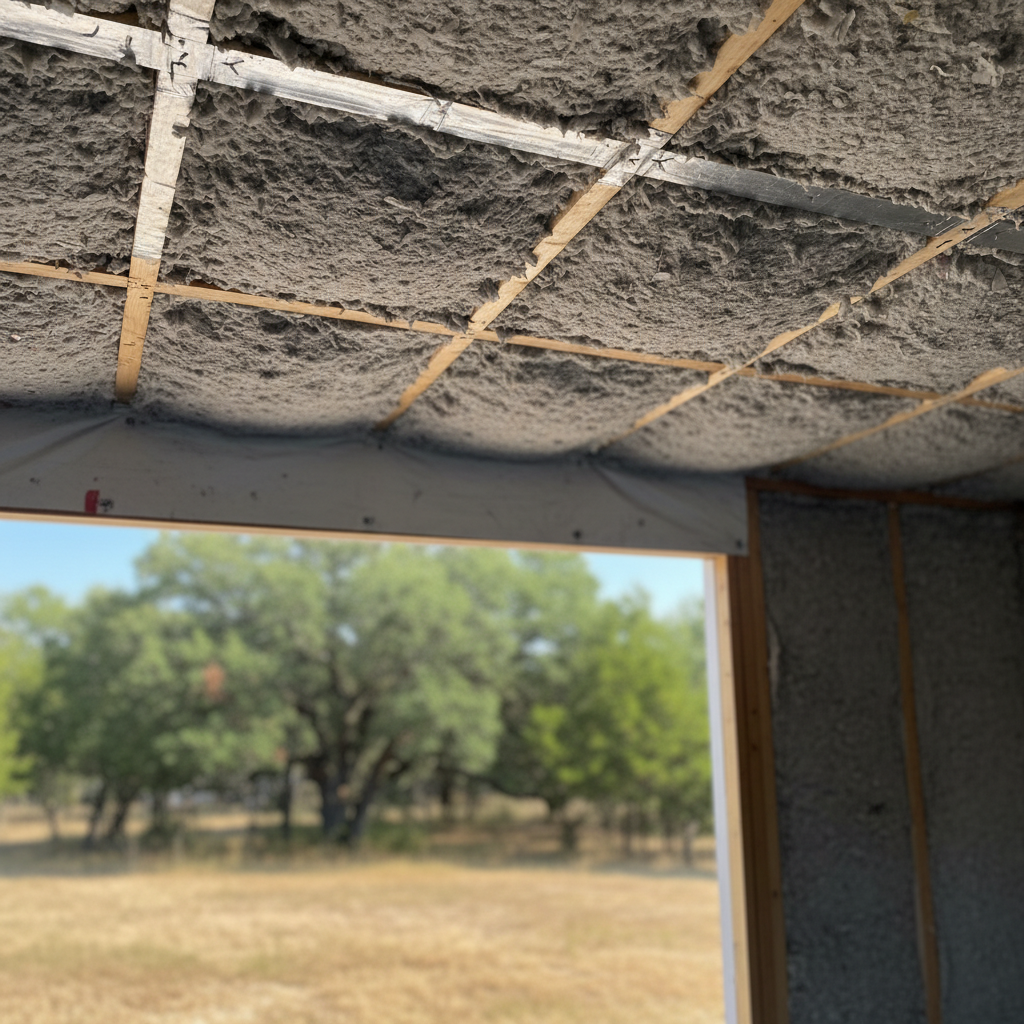
- Blown-In Insulation: For the ceiling or attic space, if your shed has one, blown-in cellulose or fiberglass can work wonders. Renting the machine and getting even coverage, though, can be a bit tricky for a first-timer. It’s doable, but definitely more involved than batts or boards.
- Spray Foam: This is where I usually tell folks to just call a pro. Sure, you can buy DIY spray foam kits, but getting an even, consistent application without making a huge mess or missing spots is tough. Closed-cell spray foam, which is what you’d want for its moisture barrier properties and high R-value, needs specialized equipment and real expertise. If you want the best performance and a truly tight seal, especially in a small, hard-to-reach space, Infinite Insulation can get it done right. We’ve seen too many DIY spray foam jobs that ended up costing more to fix than if they’d just hired us from the start, unfortunately.
For the floor, if your shed is raised off the ground, rigid foam boards or even batt insulation with a vapor barrier underneath can really make a difference. Just make sure it's protected from pests and moisture.
After the Insulation: Finishing Touches & Maintenance
Once your insulation is in, you’re not quite finished. You’ll want to cover it with something. Plywood, OSB, or drywall will protect the insulation and give your shed a nice, finished look. This also adds another layer of air sealing, which is great.
Keep an eye on your shed as time goes on. Check for any signs of moisture, pests, or damage to the insulation. Our fluctuating temperatures and occasional heavy rains here in San Marcos can be pretty tough on outdoor structures. If you notice any issues, deal with them quickly. A small leak can ruin a whole section of insulation if you let it go unchecked.
Insulating your shed is a fantastic way to make it more functional and comfortable. You can definitely tackle a lot of it yourself with the right materials and a bit of elbow grease. But don’t be afraid to call in the experts for the trickier parts, especially if you’re looking for a top-tier solution like spray foam. It’ll save you headaches and make sure you get the most out of your investment.